Are you drowning is a sea of your kids’ artwork and school papers? It’s time to conquer the clutter and preserve those precious memories. In this blog post, we’ll show you how to digitize your children’s creations so you can clear the physical clutter while preserving the sentimental value. Whether you’re using your smartphone or a home scanner, we’ve got you covered. Plus, we’ll help you stay organized along the way.
3 Questions to Ask before you begin digitizing your kids artwork and school papers:
- What is my Goal? Is it preservation-Just keeping a digital record of the items regardless of if you are going to do anything with the scans. Is it to make a digital photo book-to preserve and enjoy your Childs work in a compact, easy to hold in your hand and enjoy. Is it to have digital images to share with family and friends or to use to make gifts?
- How do I want to organize the materials for projects? You will definitely want to organize by child… Do you want to group the artwork by year/school grade? A group of grades (primary school, elementary, middle school, high school) ? or would you like a mixed approach of everything together in no particular order? All school papers together and all art together? Decide your organizational structure , write it down if necessary and then organize your digitized images accordingly. It will be much easier later to work on a project using the artwork if you can find it with out trouble.
- Where am I going to keep these files on my computer or phone (so they don’t become digital clutter)? Make a folder ahead of time on your computer (or a folder holding albums in your Apple Photos Library if you are exclusively using your phone) in which you will store the images you are digitizing. If you are making sub-folders or albums, make sure they all “live” under the same main folder
Digitize Kids Artwork & Papers Using Your Home Scanner
Do you have a smaller pile items to work with and want to scan directly to your computer? Using your home scanner is a great way to digitize the artwork. Here are some tips
- Familiarize yourself with your scanner software a bit, each scanner is different
- Some settings to note:
- Use “Photo” rather than “Document” for artwork
- Scan artwork as a photograph
- Scat to 600 dpi resolution for artwork, school papers can be scanned at 300 dpi
- Scan as a JPEG image format
- Pay attention to where the scanner is saving your documents, make sure it’s saving in your designated folder
- Name with a file name that makes sense to your organization ie. John Kindergarten Art_01 (the scanner can be set to automatically number the scans so you’ll only have to type the file name you’d like)
- Name with a file name that makes sense to your organization ie. John Kindergarten Art_01 (the scanner can be set to automatically number the scans so you’ll only have to type the file name you’d like)
Repeat until done! Then don’t forget to back up your work!! (You are backing up your computer…aren’t you?)
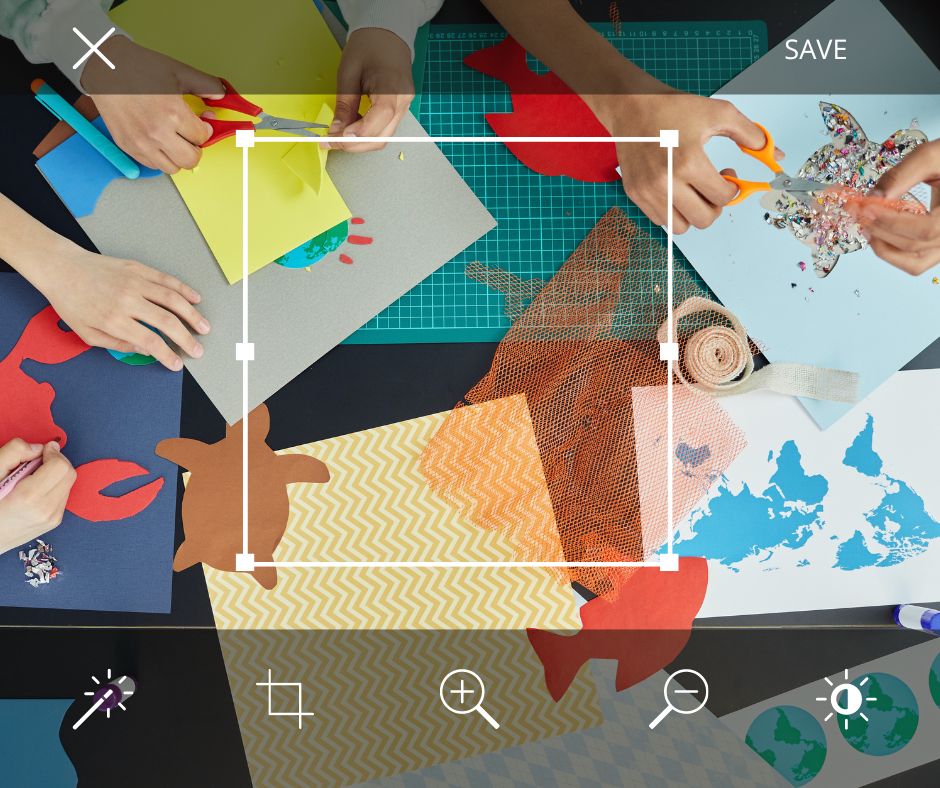
Digitize Kids Artwork & Papers Using your Smartphone or Digital Camera
The best camera is the one you have on you. Smartphones are fast, have great cameras and are perfect for snapping photos quickly. The results don’t need to be absolutely perfect, the objective is to get a good image that you can then use in gifts or in making a photo book. Here are some tips and tricks to get you started:
- Make a consistent background: You probably have a piece of white posterboard kicking around, designate it as the background for your photography sessions. It will provide a consistent background for the artwork. A piece of mat board or even a large piece of white drawing paper will also work
- Lighting: Consistent lighting over the artwork is the goal. Open a door or a window, put your background down on the floor and shoot away. You can even do this outside if it’s not windy. If you are working inside two lamps positioned on either end of the background will provide more even lighting than one overhead light which will cause glare. Likewise, don’t use a flash as you’ll get hot spots and reflections if the surface is shiny.
- Square it up: when laying out your artwork, keep it square in the middle of the background. If it’s crumpled, roll up a bit of tape to stick it down while you photograph. When you’re photographing, fill the frame of your camera with the artwork, keeping your phone or camera as level and as square as possible.
- Details, Details, Details: If you have a particularly intricate piece to photograph, go ahead and take a few detail shots and photos at some different angles to capture the piece
- 3-D Artwork: One of my favorite solutions for photographing dimensional art was to have my kids hold what they had made and take photo of them with the object (then a few closeups of said object) I had a record of the how old they were when they made the actual art. If that ship has sailed, tack a piece of posterboard partially up a wall to make a backdrop and capture it that way. Capturing it from multiple angles flat on the backdrop can also result in some interesting shadows that complement the work.
Two More Important Tips when digitizing your Kids School Papers & Artwork
- Enhancing the images: This is especially easy if you digitize using your smartphone. Use your Photos app or your favorite photo editing app to enhance the exposure (lightness or darkness), contrast, vibrance or apply a filter.
- Back it up! Don’t forget to back up your images if you’re scanning them with a scanner or downloading them to your computer from your phone or camera. You’ve put in too much hard work getting everything digitized to lose them now
Now…when the kids are in bed…get that big black trash bag and make a sweep to tidy up…I won’t tell.
Digitizing your kids artwork and school papers will free your home from clutter and enable you to use the images in photo books or other projects and to share them easily with family and friends. Make it a family activity and include your kids in the project, they can help with organizing the papers and positioning them while you do the photography. You’ll be one step closer to eliminating the overwhelm in your home, and you’ll be able to enjoy and share your kids artwork and school papers for years to come.
Bonus Tip: Join Our In-Person Workshop!
If you’re looking for hands-on guidance and more tips on managing, organizing and enjoying your kids artwork, join us for an In-Person Workshop on September 17, 2023 at 2pm. I’m thrilled to be hosting at Paper and Clay, located at 122 West Emerson St. in Melrose, MA. This workshop will provide you with more strategies to tackle the challenge of kids artwork. You’ll bring some of your own children’s artwork to work on at the event! Don’t miss this opportunity to connect with other parents and friends of kids and learn tips on how to conquer the artwork overwhelm for good!
Reserve your spot now as seating is limited!
For more ideas on how to work with your kids artwork and school papers, see other posts in the series:
Kids Artwork & Papers: How to Choose What Stays and What Goes
Kids Artwork and School Papers: Creative ways to Store Kid’s Artwork
Follow Modern Memorykeeper’s blog or follow us on social media (we are modernmemorykeeper on Facebook and Instagram) for tips and tricks to help you preserve your memories and share your stories. If you’d like to sign up for our newsletter starting this fall, please send your name and email address to: sue (at) modernmemorykeeper (dot) com.

Leave a comment